Pillow - Python Imaging Library (aka PIL)
Pillow is a popular Python library used for handling and transforming image files. It comes with the Anaconda distribution. Or you can install it manually via pip:
$ pip install Pillow
Official documentation
The official documentation and handbook: http://pillow.readthedocs.io/en/latest/handbook/overview.html
Official tutorial: http://pillow.readthedocs.io/en/latest/handbook/tutorial.html
Overview of image data concepts: http://pillow.readthedocs.io/en/latest/handbook/concepts.html
Reference of Pillow’s modules and classes: http://pillow.readthedocs.io/en/latest/handbook/concepts.html
The Image class, and its methods and attributes: http://pillow.readthedocs.io/en/latest/reference/Image.html#the-image-class
The ImageOps module: http://pillow.readthedocs.io/en/latest/reference/ImageOps.html
Github repo: https://github.com/python-pillow/Pillow
Useful recipes
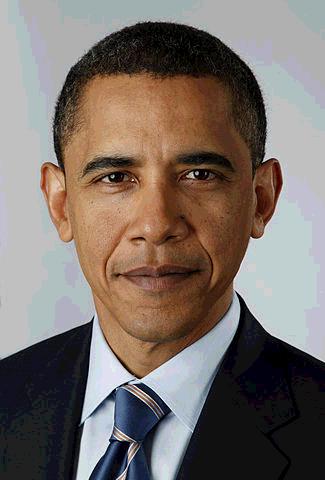
To test out these recipes on your own, you may find it convenient to download the following URLs and save them locally as trump.jpg and obama.jpg:
import requests
for pname in ['trump', 'obama']:
    url = 'http://stash.compciv.org/2017/{x}.jpg'.format(x=pname)
    dest = '{x}.jpg'.format(x=pname)
    resp = requests.get(url)
    with open(dest, 'wb') as f:
        f.write(resp.content)
The recipes below assume you have downloaded trump.jpg and obama.jpg into the working directory.
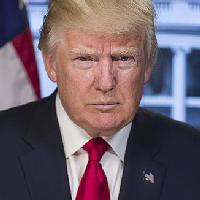
How to load an image file given a path to an existing image file
Import the Image module from the PIL package. Then invoke its open() function and pass in a filename of an image file:
from PIL import Image
fname = 'trump.jpg'
img = Image.open(fname)
More reading:
How to save an image to a file path
Use the save() method from the Image class:
from PIL import Image
fname = 'trump.jpg'
img = Image.open(fname)
destname = 'trump-copy.jpg'
img.save(destname)
More reading
Image.save()documentation: http://pillow.readthedocs.io/en/latest/reference/Image.html#PIL.Image.Image.save
How to get an image file’s dimensions
Use the size attribute to get both the width and height as a tuple pair.
>>> from PIL import Image
>>> trump_img = Image.open('trump.jpg')
>>> trump_img.size
(326, 435)
>>> obama_img = Image.open('obama.jpg')
>>> w, h = obama_img.size
>>> w
325
>>> h
480
Or you could individually get the width and height attributes:
>>> trump_img.width
326
>>> trum_img.height
435
More reading:
- Image attributes, including
size: http://pillow.readthedocs.io/en/latest/reference/Image.html#PIL.Image.size
How to resize an image to a specific width and height
Use the resize() method, which takes a 2-tuple of integers representing width and height in pixels. The following snippet sets the obama_img image to a width of 200 pixels by 100 pixels high (i.e. a wide ratio).
from PIL import Image
img = Image.open('obama.jpg')
dim = (400, 200)
newimg = img.resize(dim)
# save the new image to a new filename
newimg.save('obama-wide.jpg')
As you can see, resizing to an arbitrary ratio results in a skewed, stretched-out image:
How to scale an image to a specific aspect ratio
Usually, we want to resize an image but keep its aspect ratio intact, i.e. its width relative to its height.
Scaling the old-fashioned way with grade-school math
If all we know is the resize method, then we can fall always back on grade-school arithmetic and solve a ratio equation using cross-multiplication:
>>> from PIL import Image
>>> img = Image.open('obama.jpg')
>>> img.width
325
>>> img.height
480
>>> new_width = 200
>>> new_height = int(img.height * (new_width / img.width))
>>> new_height
295
>> newimg = img.resize((new_width, new_height))
Using the thumbnail() method to set a max width/height
The Image object has a thumbnail() method that takes a 2-tuple as argument, for width and height. The new Image object will be resized so that the neither the width nor height is bigger than the biggest of the 2 given dimensions, while keeping the aspect ratio.
In other words, the following snippet will make sure that neither the width nor height of the newimg object will be greater than 100 pixels. Since the original img from obama.jpg is taller than it is wide, this means that the height of newimg will be capped to 100 pixels, with the height rescaled accordingly:
>>> from PIL import Image
>>> img = Image.open('obama.jpg')
>>> newsize = (100, 100)
>>> img.thumbnail(newsize)
>>> img.size
(68, 100)
Note that the thumbnail() method, unlike resize(), mutates its Image object, i.e. the img object itself is modified. If you still want to keep the data in the img object around, make a copy, then call thumbnail() on the copy:
img = Image.open('obama.jpg')
thumb_img = img.copy()
thumb_img.thumbnail((100, 100))
More reading
- StackOverflow question, “How do I resize an image using PIL and maintain its aspect ratio?”: http://stackoverflow.com/questions/273946/how-do-i-resize-an-image-using-pil-and-maintain-its-aspect-ratio
Image.thumbnail()http://pillow.readthedocs.io/en/latest/reference/Image.html#PIL.Image.Image.thumbnailImage.resize()http://pillow.readthedocs.io/en/latest/reference/Image.html#PIL.Image.Image.resize
Cropping an image
The Image’s crop() method takes as argument a 4-tuple for the left-most, upper-most, right-most, and lower-most pixel coordinate of an image, and it returns a new Image object cropped to those coordinates.
The following snippet crops the trump.jpg thumnbail 35 pixels in from the left, 60 pixels in from the top, 45 pixels in from the right, and 200 pixels from the bottom:
>>> from PIL import Image
>>> img = Image.open('trump.jpg')
>>> img.size
(326, 435)
>>> crop_specs = (35, 60, img.width - 45, img.height - 200)
>>> crop_img = img.crop(crop_specs)
>>> crop_img.size
(246, 175)
As you can tell from the ratio, the image represented by crop_img is more landscape than portrait. Here’s what it looks like when you save and then open it in an image browser:
Scaling and cropping an image to a specified aspect ratio
Sometimes we want to shrink an image to scale, but also crop it to fit a desired aspect ratio. The most common case is for creating square thumbnails. To do this using resize() and crop() in sequence, I’ll leave to you as a “fun” exercise.
In the real-world, I recommend using PIL’s ImageOps module, which has a convenience function named ``fit()` <http://pillow.readthedocs.io/en/latest/reference/ImageOps.html#PIL.ImageOps.fit>`_. The first argument is an Image object, the second is a 2-tuple specifying the width and height of the desired image. fit() then returns a new Image object scaled and cropped to those dimensions.
To get a 200x200 square thumbnail of trump.jpg:
from PIL import Image, ImageOps
img = Image.open('trump.jpg')
fimg = ImageOps.fit(img, (200, 200))
Result when saved:
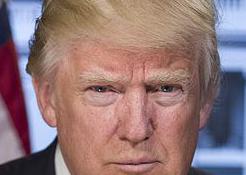
The fit() method also has an optional centering argument, in which a 2-tuple is passed specifying the ratio to crop from the left and from the top.
The following snippet would create a square 100x100 thumbnail in which 100% of the width-crop comes off the left side, and 0% of the height-crop comes from the top, i.e. 100% from the bottom.
The result is a thumbnail centered around the top-right corner of the original image:
from PIL import Image, ImageOps
img = Image.open('trump.jpg')
fimg = ImageOps.fit(img, (100, 100), centering=(1.0, 0.0))
The result:

To center the crop around the middle of the image, both in terms of width and height:
from PIL import Image, ImageOps
img = Image.open('trump.jpg')
fimg = ImageOps.fit(img, (100, 100), centering=(1.0, 0.0))

More reading
Transform the color of an image
The Pillow library, specifically the ImageOps module, contains several convenience methods for quickly creating a copy of an image with a different color profile, such as going from color to grayscale, or to black and white, or to a “quantized”, limited number of colors.
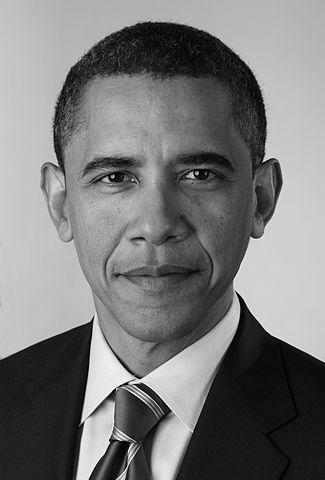
Convert an image to grayscale
Use the ImageOps.grayscale() function:
from PIL import Image
from PIL.ImageOps import grayscale
img = Image.open('obama.jpg')
grayimg = grayscale(img)
The result:
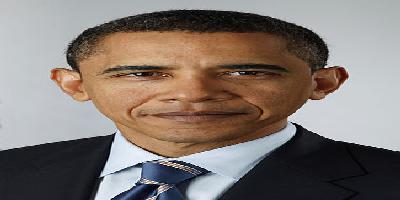
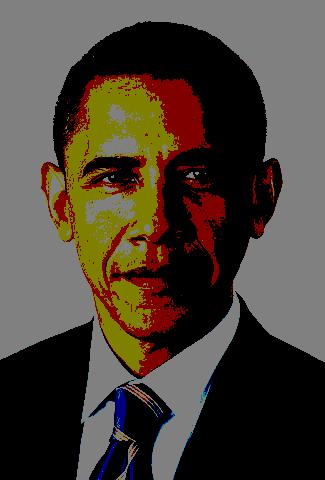
Reduce the numbers of color per channel with posterization
In an image that has a color mode of RGB – i.e. the color is created from a combination of red, green and blue – we can create a posterized effect by reducing the number of bits per channel.
The sample trump.jpg and obama.jpg have 8-bits per channel, that is, 256-shades of red, blue, and green.
Using the ImageOps.posterize() method, here’s how to create a new image with just 4-bits per channel. The method’s first argument is an Image object; the second is the argument named bits, which takes an integer from 0 to 8. Set bits to 4 to get 4 bits per channel:
from PIL import Image
from PIL.ImageOps import posterize
img = Image.open('obama.jpg')
pimg = posterize(img, bits=4)
The result:
To create an “8-bit-color” version of the portrait, i.e. a picture in which there are only 8 possible colors, which includes black and white and every combination of R, G, and B being either a 1 or a 0, we limit the bits argument to 1:
from PIL import Image
from PIL.ImageOps import posterize
img = Image.open('obama.jpg')
pimg = posterize(img, bits=1)
The result:
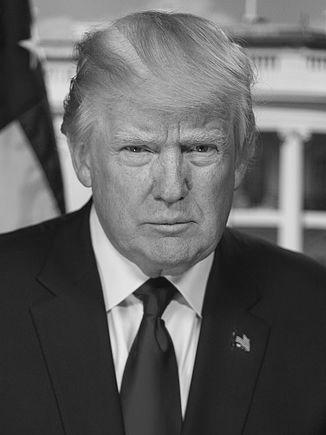
Creating a duotone image
Think of a duotone image in which the colors are reduced to 2 specific colors, specifically, those 2 colors and their halftones.
For example, we could think of a grayscale image as being a duotone image of the two colors, black and white. Here is a grayscale version of trump.jpg:
from PIL import Image
from PIL.ImageOps import colorize, grayscale
img = Image.open('trump.jpg')
grayimg = grayscale(img)
The grayimg image object looks like:
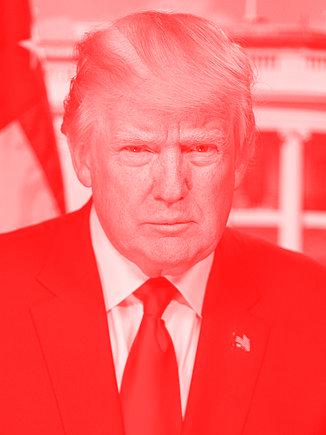
To create a reddish version of that grayscale image, we can use the colorize method and map the black pixels to 'red', and the white pixels to, well, just 'white‘:
from PIL import Image
from PIL.ImageOps import colorize, grayscale
img = Image.open('trump.jpg')
grayimg = grayscale(img)
redimg = colorize(grayimg, black='red', white='white')
The result:
More reading