First Bot
Create a data-driven bot that responds to user input. Imagine your “bot” living on a cloud web server. A user visits a URL on that server, the server sends a message to your bot program, your bot does something.
Deploying this bot will probably involve you learning Flask and Github and also remember how to SSH into a remote server (or maybe use Heroku). Don’t worry, it’ll be fun.
Rubric
Due date: 2017-03-17
Points: 100
Email me with the subject line of:
compciv-2017::your_sunet_id::first-bot
The email should contain a zip file named:
first-bot.zip
I actually prefer you put the code folder up as a Github repo, but if you run into a hiccup, you can email me for now.
Deliverables
The folder structure of your project should look like this:
.
├── bot.py
├── library_1.py
├── library_2.py
├── README.md
├── data
    ├── samples
The README.md file is a 600-word writeup of why you designed your bot to do what it did. Describe the data-finding/wrangling process, including any limitations. Please include links to any stories or other projects from which you drew inspiration.
The two library scripts don’t have to be named that. but think of those scripts as the ones in charge of the two different datasets that you’re using, including the downloading/parsing, etc. Your bot.py script should be importing the necessary functions from library_1.py, etc., so that you aren’t writing a gigantic script.
The bot.py script should look something like this:
from library_1 import *
from library_2 import *


def bot(first_arg, second_arg):
    blahblah
    do_something
You should plan on your bot returning a string, like a HTML string (which I’ll get you up to speed quick). Unless you’re doing something crazy, like producing a picture.
Here’s an example of a bot in this Github repo:
https://github.com/fellowkids/death-penalty-bot
Notice how the code related to the Texas death penalty scraping is in a separate file, and how bot.py imports only the function it needs to do the job:
from texas_scraper import get_inmates

...

def bot(datestr):
    # etc ...
    story = make_story(refdate, sortedinmates[0])
Requirements for the bot
- Accepts at least one argument from user input, such as user-location, name, date, zip code, age, etc.
- Draws from at least 2 sources of data.
- Outputs a message or “story” that reflects a filtering/transformation of the data.
Bot deployment
This is where things get a little bit tricky. After you make sure your bot works on your own computer, we’ll put it up on a cloud server.
To keep things simple for this first bot, we’ll assume that it works off of a trigger. And that trigger can be as simple as visiting a URL.
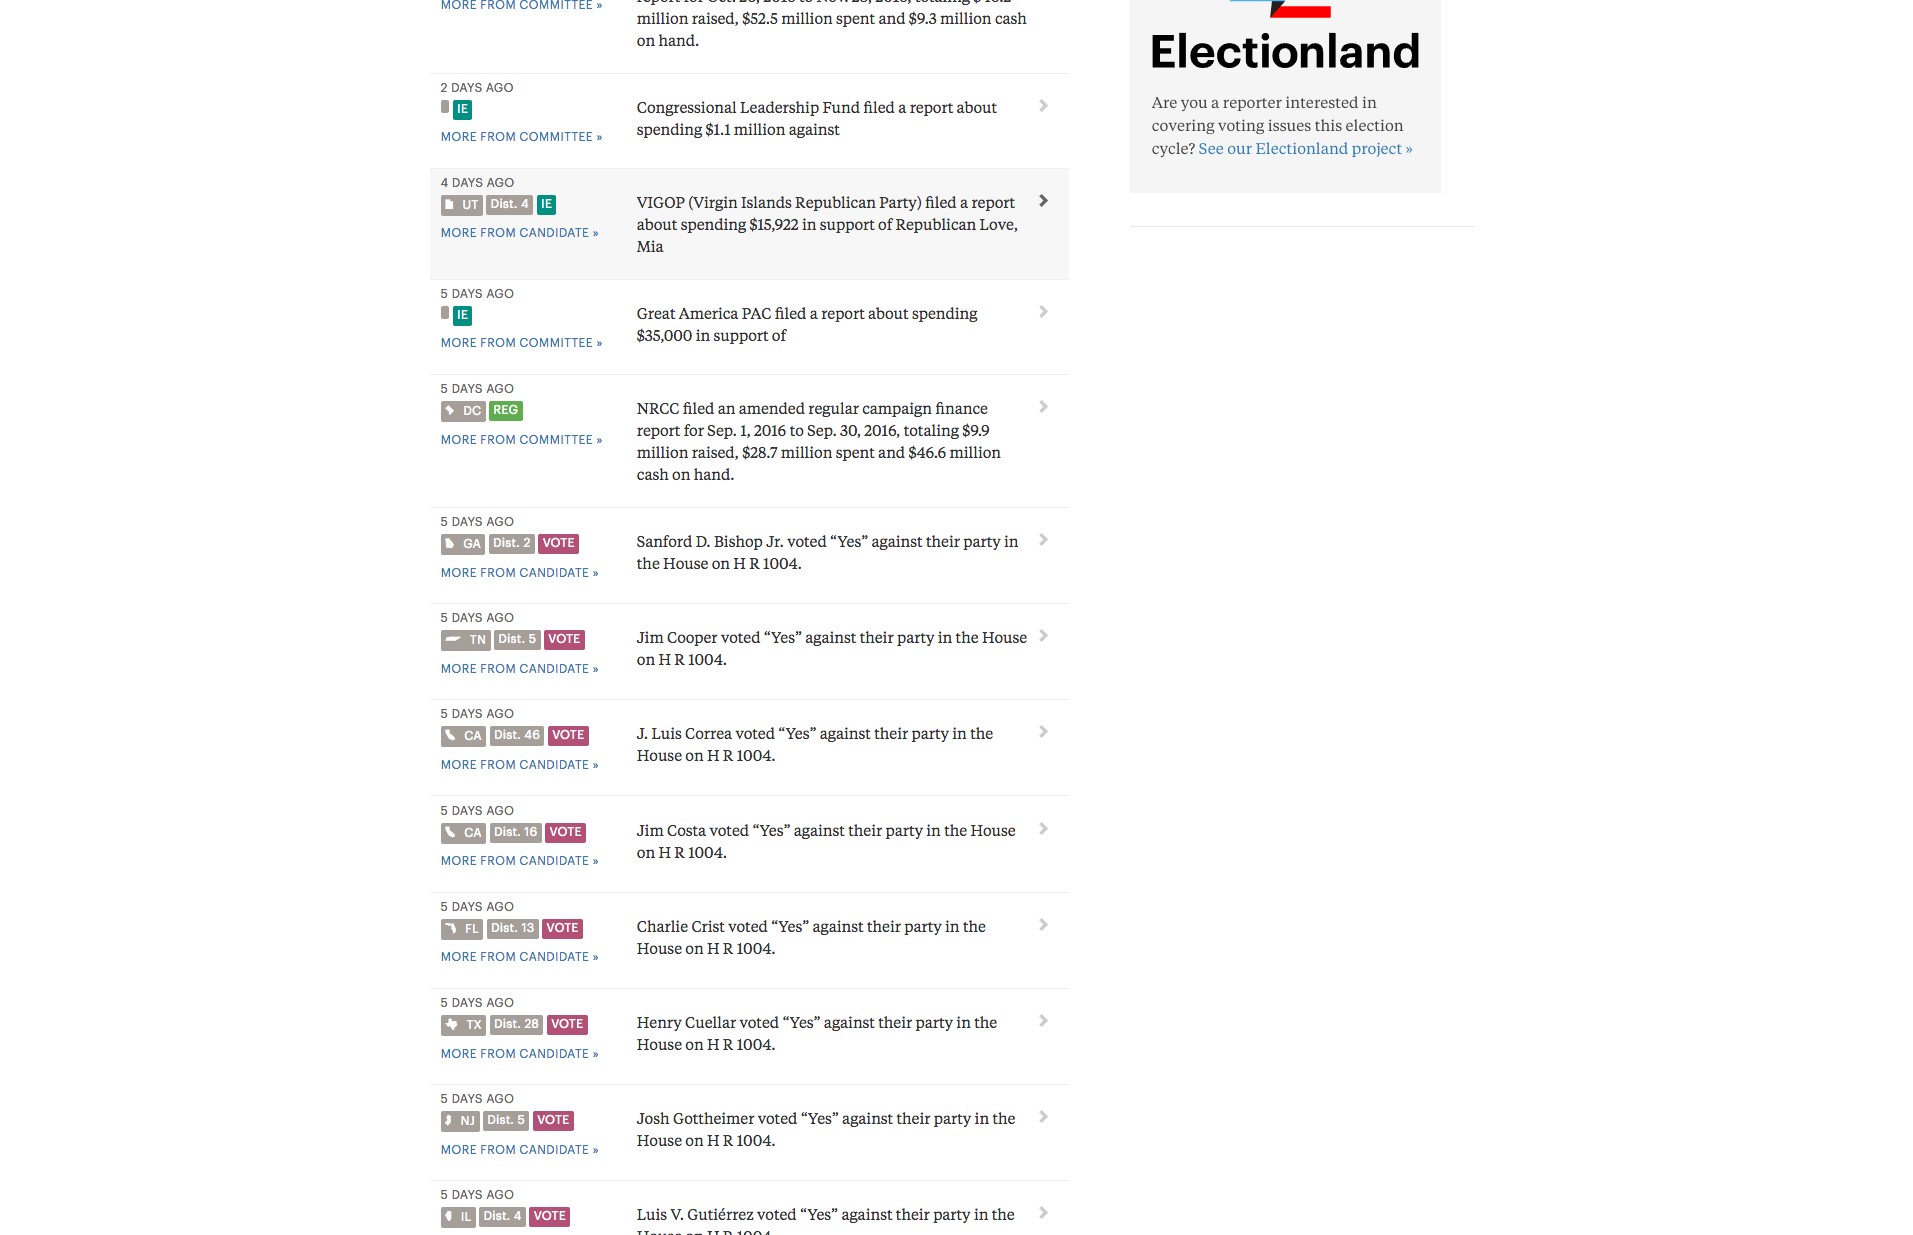
For example, consider ProPublica’s Election DataBot. Here’s the landing page:
https://projects.propublica.org/electionbot/

The main feature is a section called the “Firehose” where all the updates are posted. Take a look at the imperfect output, and at the “stories” ProPublica considers important:
Congressional Leadership Fund filed a report about spending $1.1 million against https://projects.propublica.org/itemizer/filing/1151378/schedule/se
Jim Cooper voted “Yes” against their party in the House on H R 1004. https://projects.propublica.org/represent/votes/115/house/1/126
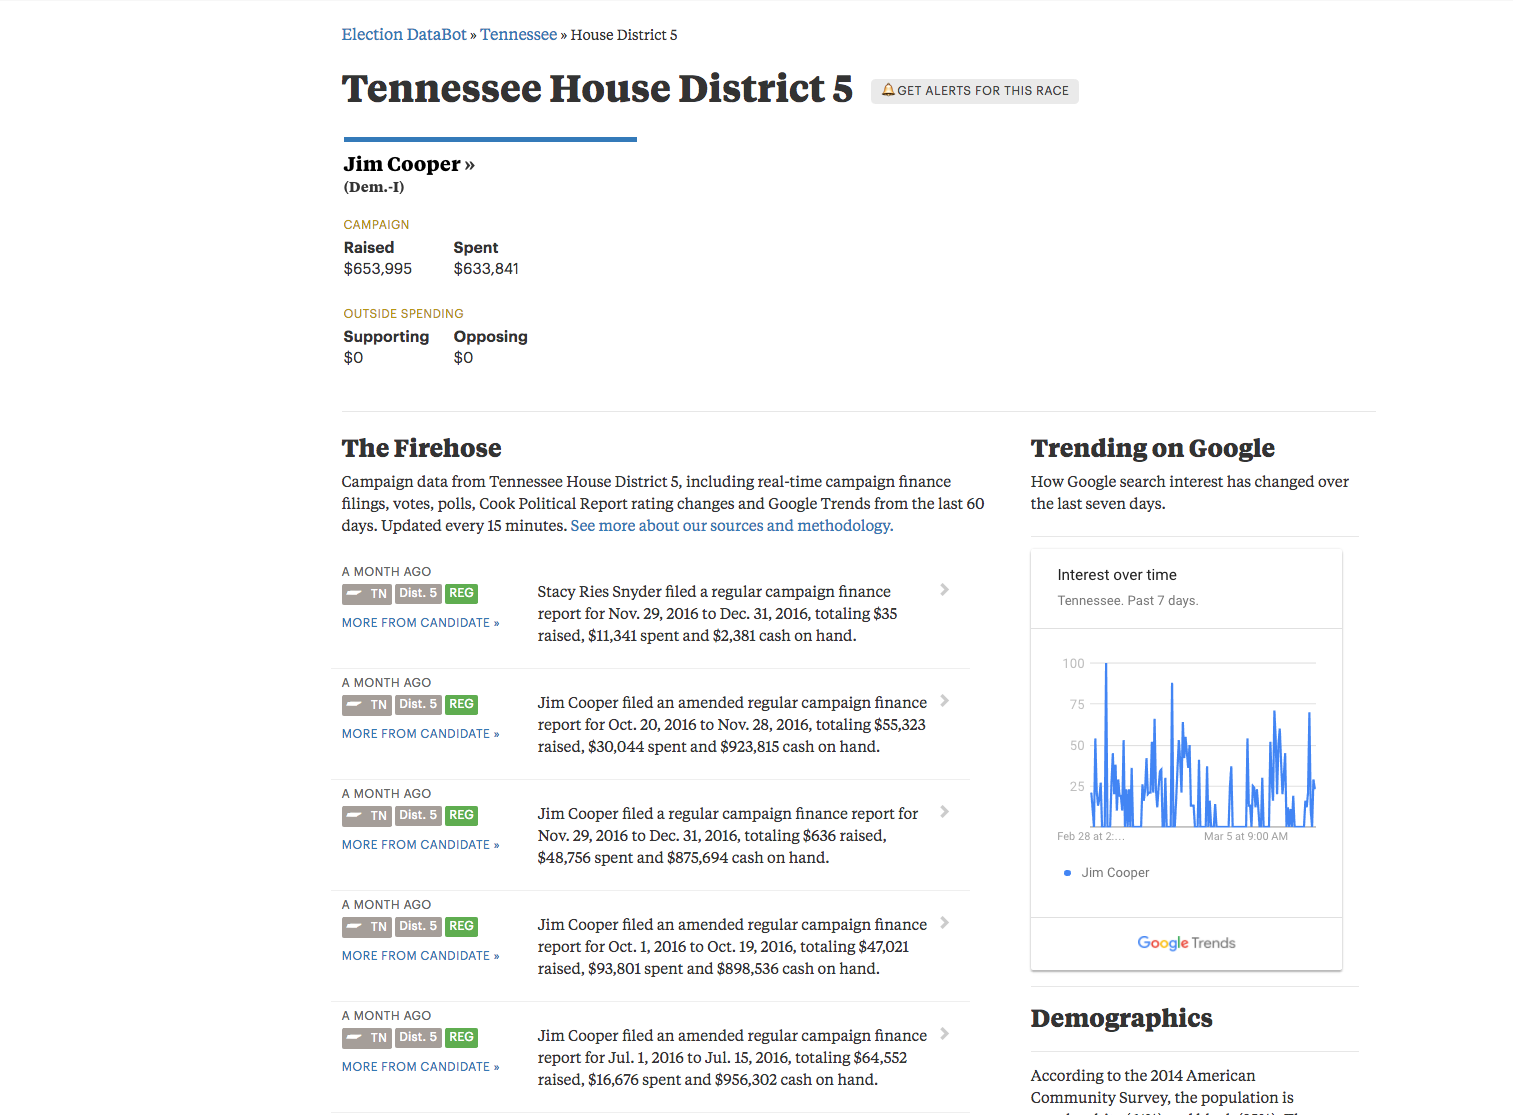
We can also click through to the individual candidates and committees to see their streams. Here’s Jim Cooper:
https://projects.propublica.org/electionbot/TN/5/
Look at the URL, in which TN and 5 are provided as arguments, and we get data/stories focused on Rep. Cooper.

So your bot will live on a web server. At the very least, it’ll post some HTML. You can make it fancy if you want. Or, you could have that web trigger make the bot send a text message or tweet. Up to you.